Peanut Butter Date Bars

Two of my favorite things: peanut butter and dates. I can't get enough! Peanut butter literally tastes good with everything and when it comes to dates, they have become my absolute favorite baking ingredient since eliminating refined sugar from my diet. So, needless to say, these Peanut Butter Date Bars are a total winner in my book.
Whenever we have them in the house, they do not last long. Kyle has actually proclaimed that they are the best thing I have ever made, and I think that anything with that much husband approval has to be pretty darn good.
These bars are so simple to throw together, and make the perfect vegan, gluten-free, and refined sugar-free sweet treat! Not to mention, they also have tons of protein and fiber from the dates, peanut butter, and oats.


Peanut Butter Date Bars
(Makes 10 Bars)
Ingredients:
40 deglet noor dates, pitted + 1 Tbs water
1 cup gluten-free oats, ground
1/2 cup gluten-free oats, whole
1/3 cup coconut oil
1/4 pure maple syrup
1/4 cup unsalted peanut butter
1 tsp pure vanilla extract
2 Tbs unsweetened shredded coconut
1/2 tsp cinnamon
Instructions:
1. Preheat oven to 350 degrees.
2. Place dates with one tablespoon of water in the food processor and blend until dates form a smooth, paste-like texture. Remove dates and place aside in a bowl.
3. Place one cup of oats along with the remainder of ingredients (except for the other 1/2 cup of oats) in the food processor and blend.
4. Once all of the ingredients are combined and the mixture is smooth, add the last 1/2 cup of oats and pulse. Do not over blend as we want the extra 1/2 cup of oats to just be chopped. Remove mixture from the food processor and place aside in a bowl.
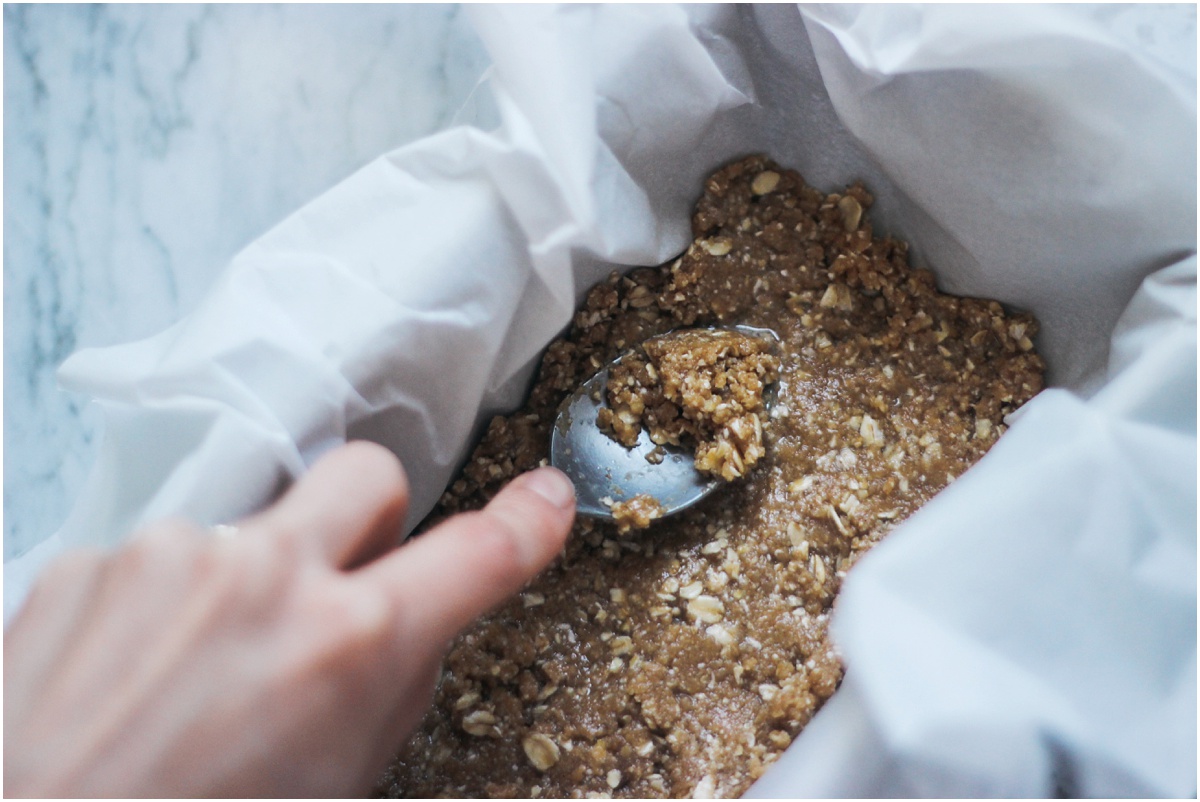
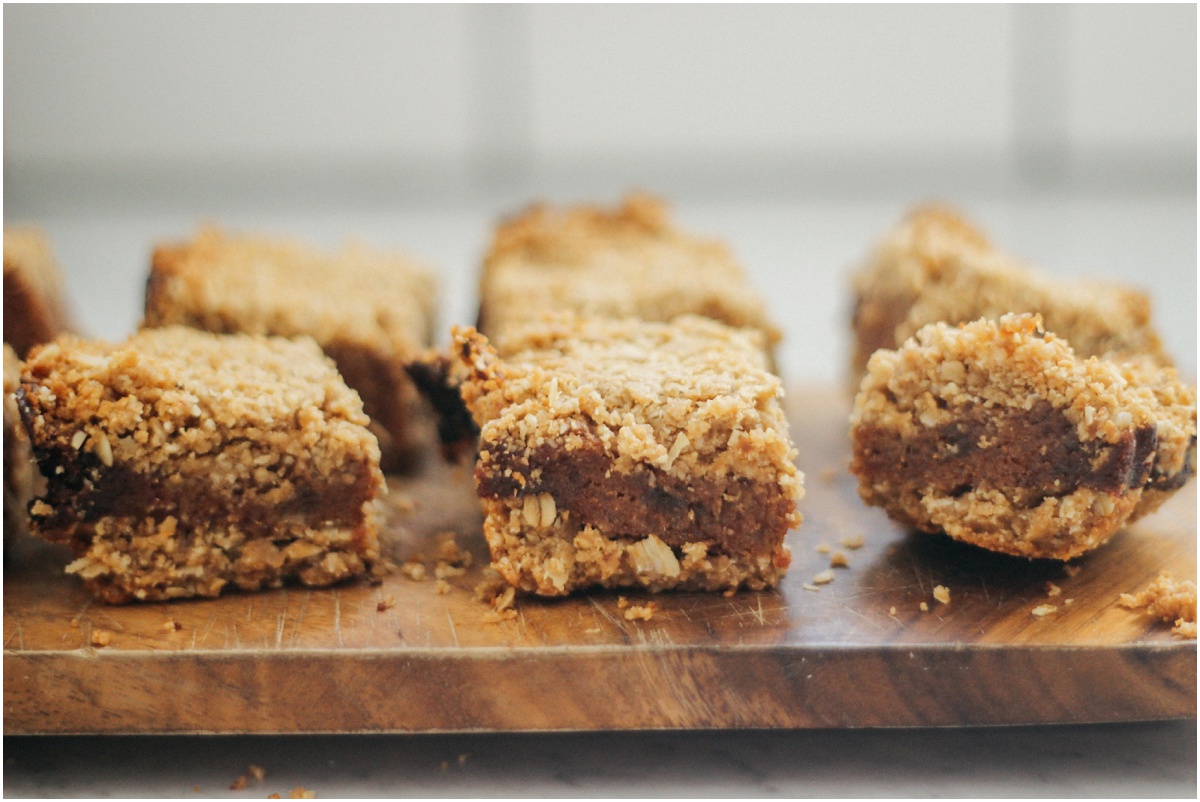
5. Line a loaf pan with parchment paper, then spread half of the peanut butter mixture evenly in the pan. Once the bottom layer is in place, spread all of the dates over the bottom layer of the peanut butter mixture. Splash water on the spoon if the mixture starts to stick. Then spread the remainder of the peanut butter mixture on top of the layer of dates.
6. Place the pan in the oven and bake for 40 minutes.
7. Once the bars have cooked, let them cool for up to an hour before cutting into them. This step is very important as the bars will start to crumble if you don't let them cool first. You can also place them in the fridge to speed up cooling.
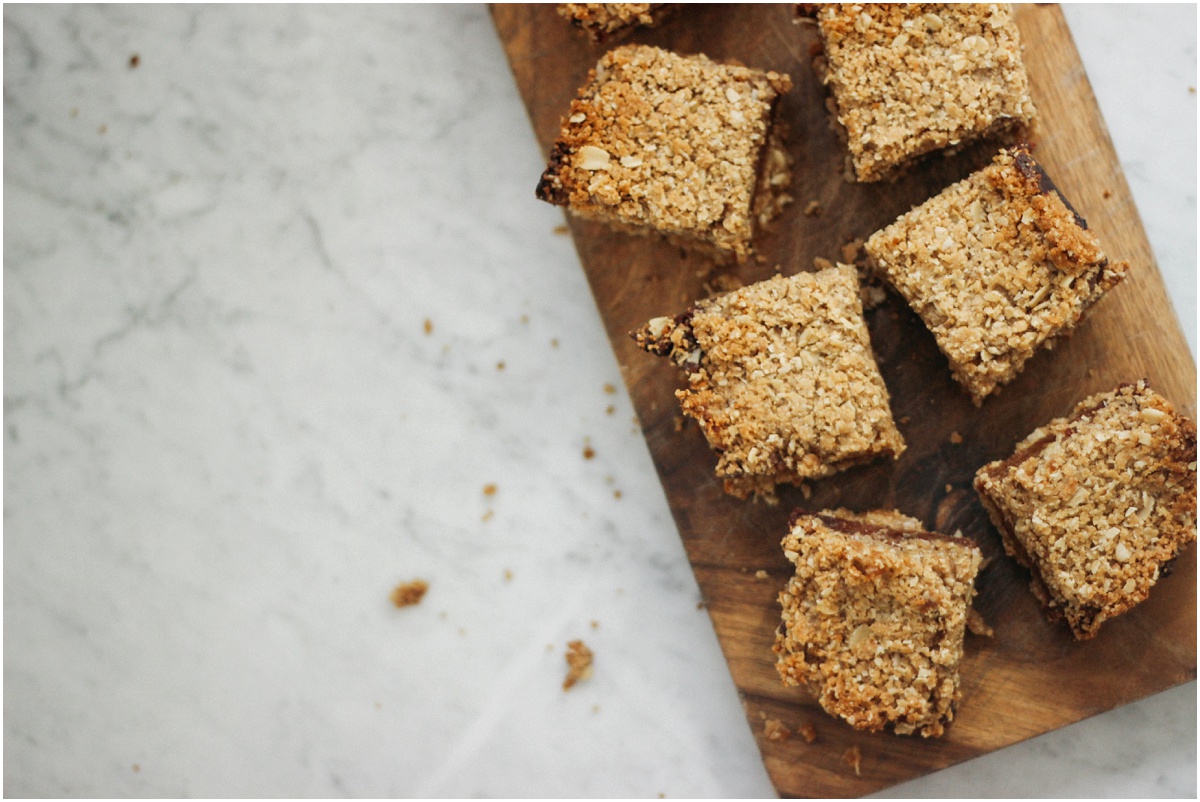
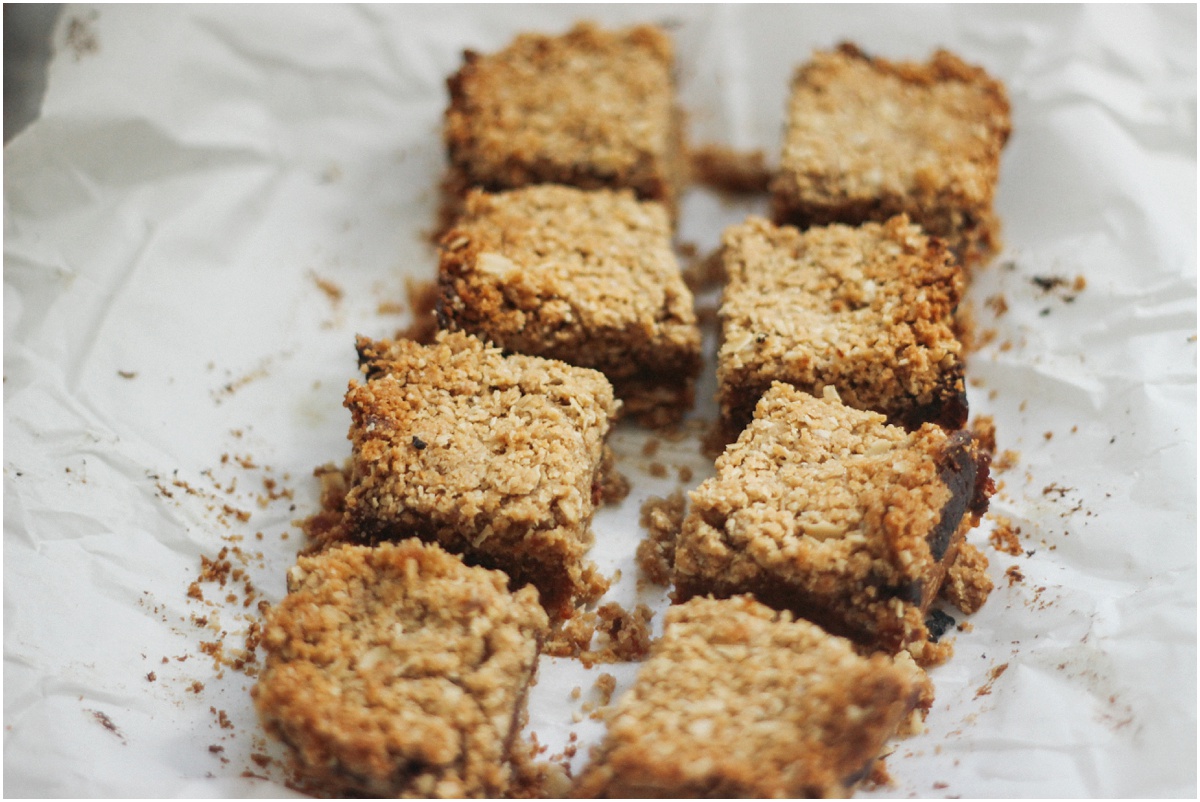
8. Cut the bars into ten squares. You can make more or less, but I think ten makes each bar the perfect size. Store them in the fridge and enjoy for up to a week! Although I doubt it will take that long.


These Peanut Butter Date Bars are sure to be a hit in your household! I hope you love them just as much as we do.
xo Natalie